Let’s Encrypt uses the client Certbot to install, manage, and automatically renew the certificates they provide. In the case where your certificate does not automatically renew on your Linux Ubuntu, you can manually trigger the renewal at anytime by running:
sudo certbot renew
If you have multiple certificates for different domains and you want to renew a specific certificate, use:
certbot certonly –force-renew -d example.com
The –force-renew flag tells Certbot to request a new certificate with the same domains as an existing certificate. The -d flag allows you renew certificates for multiple specific domains.
To verify that the certificate renewed, run:
sudo certbot renew –dry-run
If the command returns no errors, the renewal was successful.
Get-ChildItem -Path “G:\Data*” -Recurse -include *.png,*.jpg,*.bmp.*.gif | Copy-Item -Destination “G:\Copy” Copy files sesuai extensi di G> Data ke G> Copy
Google Cloud Platform adalah layanan cloud dari Google yang terdiri dari berbagai produk seperti Compute, Storage, Networking, Big Data, Machine Learning, dan IoT
Ada bisa mencoba dengan Free Tier dahulu, kemudian baru upgrade setelah setelah cocok dengan kebutuhan. J
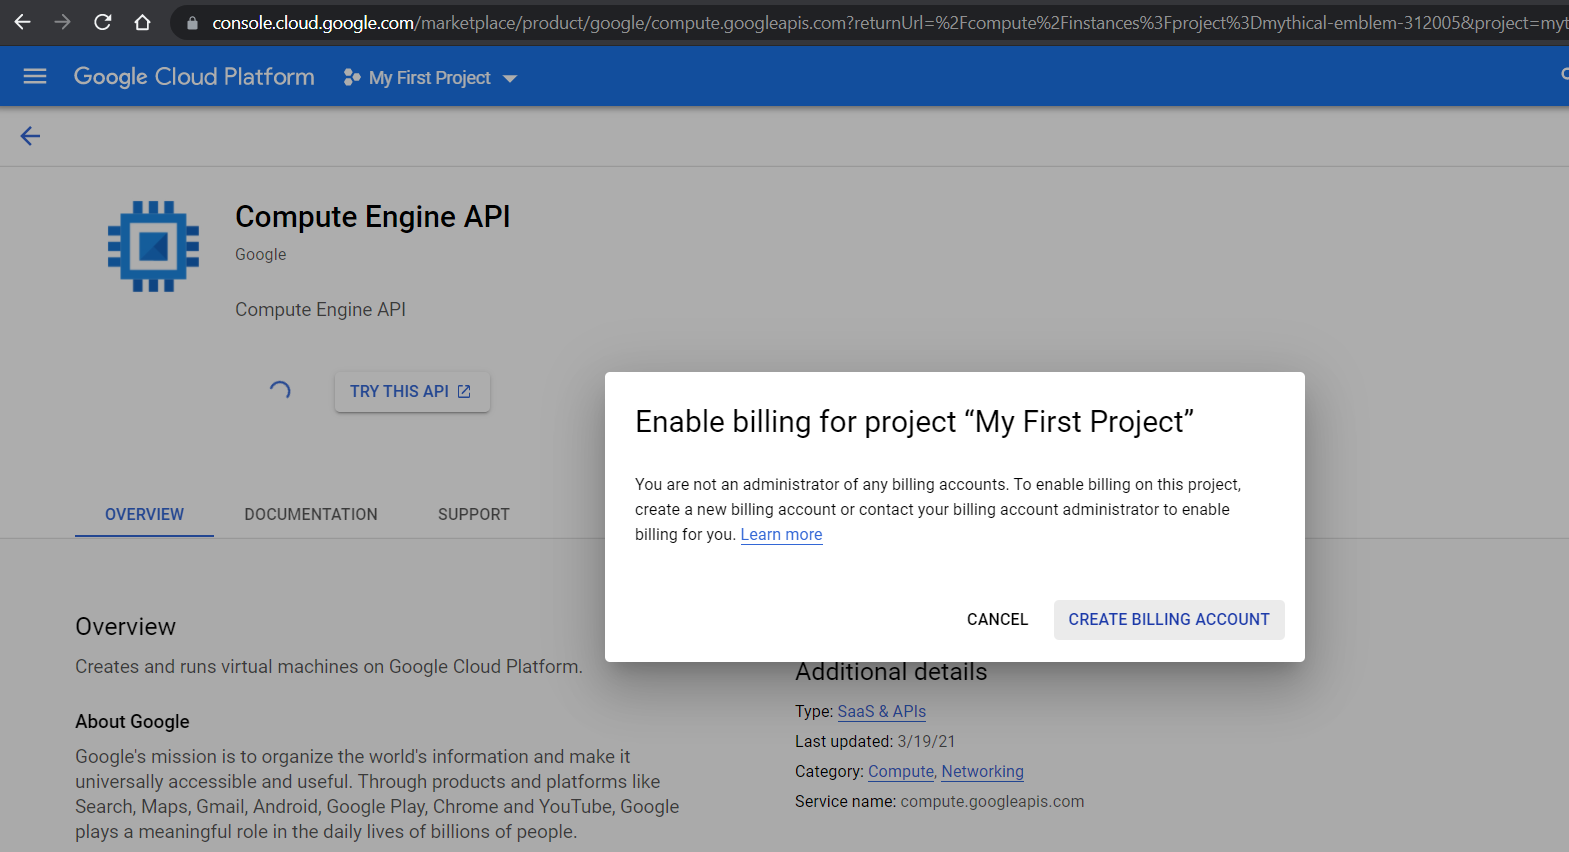
Selanjutnya kita masuk ke Console Google Cloud. Menu membuat Virtual machine berada di Compute Engine->VM instances. Klik Create. Kalau belum memasukan billing akan diarahkan ke setup billing, tapi jangan khawatir Google tidak akan mengenakan biaya sampai anda melakukan upgrade.
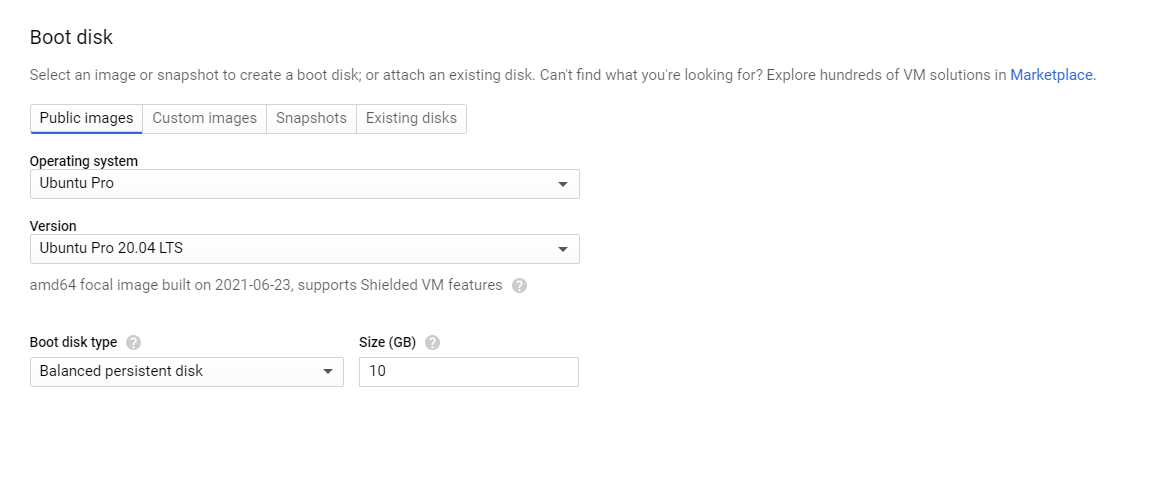
Name, menjadi nama VM instance sekaligus hostname. Zone, lokasi server. Beda lokasi bisa berbeda biaya sewa, misalnya lokasi server di Amerika lebih murah dari lokasi server di Singapura. Machine type, spesifikasi CPU (processor) dan RAM. Klik Customize untuk mengubah spesifikasi. Boot disk, pilih sistem operasi dan besaran kapasitas disk sistem.
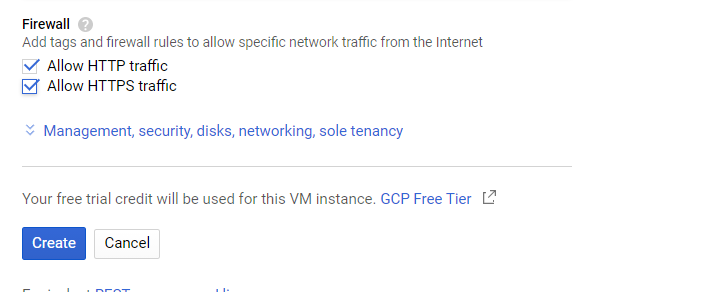
Terakhir klik Create. Tunggu beberapa detik untuk proses build VM instance.
VM instances sudah aktif. External IP merupakan public IP dari VM, dan Internal IP merupakan private IP
Buka port 8443 dari firewall GCP, ports yang dipakai Unifi https://help.ui.com/hc/en-us/articles/218506997-UniFi-Ports-Used
Saya anggap VM sudah selesai dan kemudian bisa di remote VM tersebut dengan SSH ke Public IP tersebut, kemudian langkah selanjutnya install unifi controller nya
Selanjutnya Install Ubiquiti Unifi Controller di Ubuntu 20.04 VM
Untuk Adopt perangkat AP ke VM GCP, bisa arahkan uniform nya ke http://ip-public-VM-GCP:8443/ atau http://unifi.namadomain.com:8080/inform dengan cara SSH ke perangkat AP.
set-inform http://unifi.namadomain.com:8080/inform kemudian adopt dari unifi contoller di VM nya!
Selanjutnya Install Let’s Encrypt SSL Certificate on UniFi
sudo add-apt-repository ppa:certbot/certbot
sudo apt-get update
sudo apt-get install python-certbot-apache -y
sudo certbot --apache -d unifi.namadomain.com
sudo wget https://raw.githubusercontent.com/stevejenkins/unifi-linux-utils/master/unifi_ssl_import.sh -O /usr/local/bin/unifi_ssl_import.sh
sudo chmod +x /usr/local/bin/unifi_ssl_import.sh
sudo nano -w /usr/local/bin/unifi_ssl_import.sh

# UNIFI_HOSTNAME=unifi.namadomain.com
#Karana kita pakai Debian/Ubuntu, selain script itu bisa comments:

#UNIFI_DIR=/opt/UniFi
#JAVA_DIR=${UNIFI_DIR}
#KEYSTORE=${UNIFI_DIR}/data/keystore

# Uncomment following three lines for Debian/Ubuntu
UNIFI_DIR=/var/lib/unifi
JAVA_DIR=/usr/lib/unifi
KEYSTORE=${UNIFI_DIR}/keystore

LE_MODE=yes
LE_LIVE_DIR=/etc/letsencrypt/live

# tekan CTRL+X dan Y.

#Jalankan script!

sudo /usr/local/bin/unifi_ssl_import.sh
sudo chown root:root /etc/cron.daily/unifi_ssl_import
sudo chmod +x /etc/cron.daily/unifi_ssl_import
cat /etc/cron.d/certbot
sudo certbot renew --dry-run
From there go to Settings > Passwords and you will now see 3-Dot menu to the right of where you see the title “Saved Passwords”. Those dots allow you to import a CSV password file. You can delete shortcut if you like after importing.
Reboot into the Recovery Drive by choosing the ‘Apple‘ menu > Restart, hold down the ‘command’ + ‘r’ keys on the keyboard during the start up process, when you see the start up screen you can let go. When the machine boots eventually you will see the macOS or OS X Utilities screen.